Trezor.io/Start: Your Secure Gateway to Crypto Protection
In today’s digital world, cryptocurrency has rapidly emerged as a valuable asset class. With this growth comes the pressing need for secure storage solutions that protect digital assets from hackers, malware, and phishing attacks. This is where Trezor.io/Start comes into play — your official entry point to setting up a Trezor hardware wallet. Whether you’re a beginner or a seasoned investor, understanding how to securely set up and use a Trezor Wallet through Trezor.io/Start is a vital step toward safeguarding your crypto investments.
🔐 What is Trezor.io/Start?
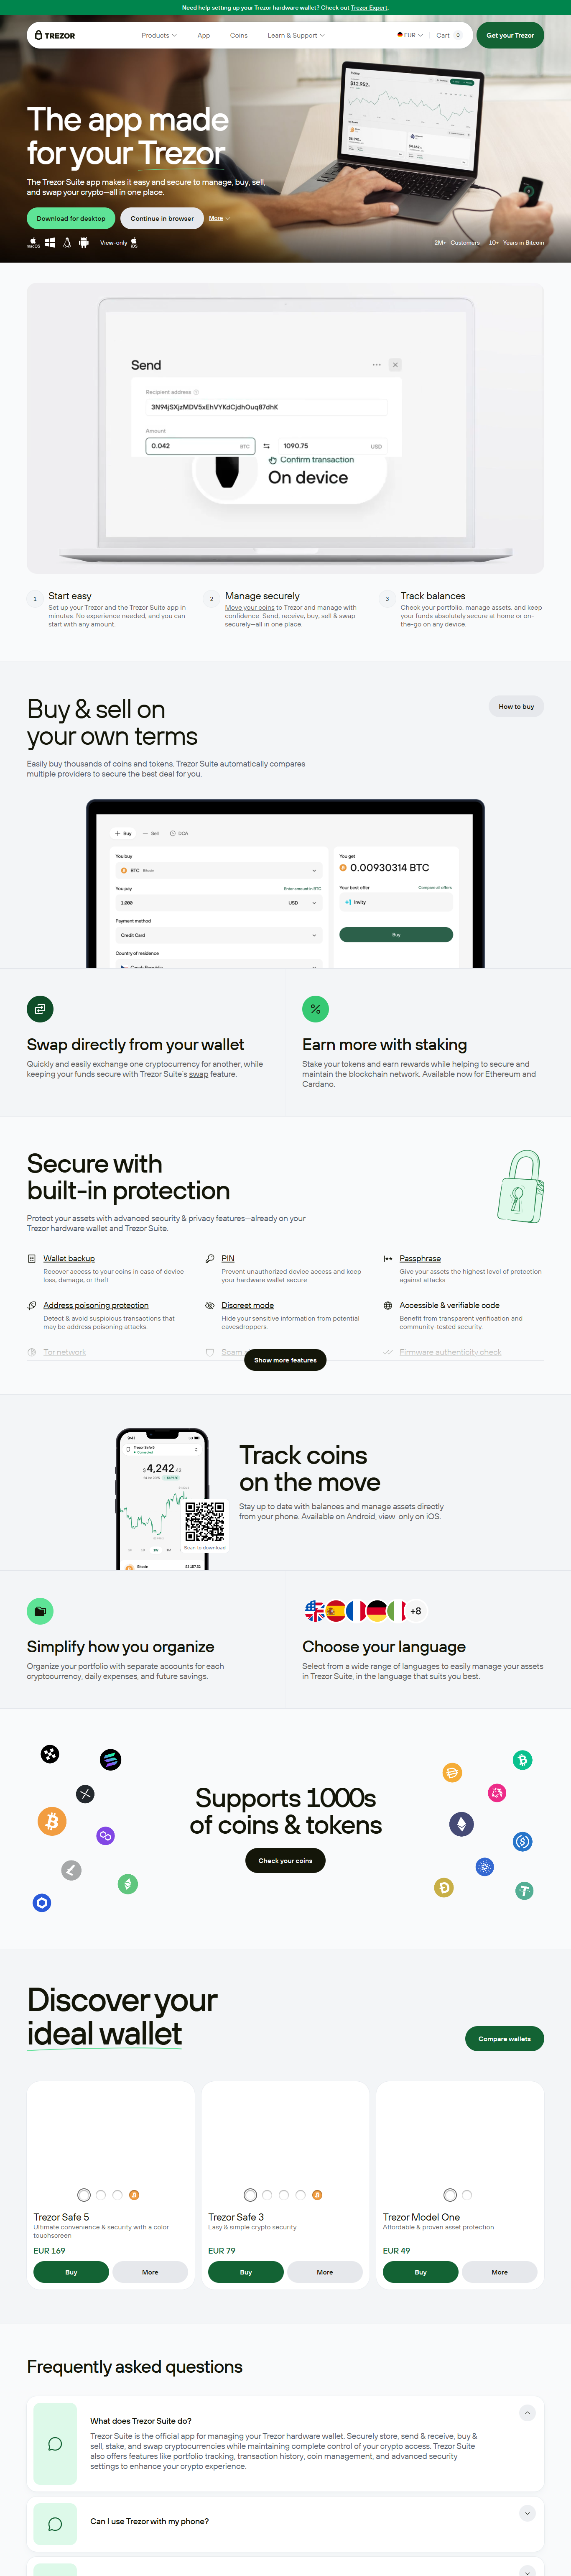
Trezor.io/Start is the official setup page provided by SatoshiLabs for initializing and configuring your Trezor Wallet. When you purchase a new Trezor hardware device — either the Trezor Model One or the Trezor Model T — this is the very first place you should visit to ensure a secure and smooth onboarding process.
This page guides you through:
- Installing Trezor Suite (the wallet’s official desktop app)
- Updating firmware on your device
- Creating a new wallet
- Backing up your recovery seed
- Securing your funds with a PIN or passphrase
By following the steps on Trezor.io/Start, you ensure that your wallet is set up correctly and securely, reducing the risk of user error or compromise.
🧩 Why Use a Trezor Wallet?
The Trezor Wallet is one of the most trusted names in crypto security. It is a hardware wallet, which means it stores your private keys offline, far away from internet threats. Unlike software wallets that can be compromised by malware or phishing attacks, Trezor provides unmatched security by keeping your sensitive data offline.
Key Benefits of the Trezor Wallet:
- Cold Storage Security: Keeps your private keys completely offline.
- Multi-Currency Support: Supports thousands of cryptocurrencies including Bitcoin, Ethereum, and ERC-20 tokens.
- User-Friendly Interface: The Trezor Suite software offers an intuitive, beginner-friendly interface.
- PIN & Passphrase Protection: Multiple layers of security in case of loss or theft.
- Open-Source: Regularly audited and improved by a global community of developers.
Whether you're managing a diversified portfolio or simply storing Bitcoin for the long term, the Trezor Wallet is designed to provide top-tier protection for your assets.
🛠️ Step-by-Step Guide: How to Use Trezor.io/Start
Setting up your Trezor Wallet is a simple and secure process when using Trezor.io/Start. Follow these steps:
✅ Step 1: Go to the Official Website
Visit https://trezor.io/start to begin the setup process. Choose your specific model — either the Trezor Model One or the Trezor Model T.
✅ Step 2: Install Trezor Suite
Download and install Trezor Suite, the official desktop app that connects your hardware wallet to your computer. It's available for Windows, Mac, and Linux.
✅ Step 3: Connect Your Device
Plug your Trezor device into your computer using a USB cable. The software will automatically detect the device and check for firmware updates.
✅ Step 4: Initialize the Wallet
Choose to create a new wallet. The device will generate a recovery seed phrase — usually 12 or 24 words. This is your backup key and should be stored offline and in a secure location.
✅ Step 5: Set Up PIN and Optional Passphrase
For added security, set up a PIN to protect your device. You can also enable a passphrase — an additional word or phrase that acts as a 25th word to your seed.
✅ Step 6: Access and Manage Your Crypto
Once your wallet is set up, you can use Trezor Suite to send, receive, trade, and track your cryptocurrencies in one place.
📊 Using the Trezor Wallet for Daily Crypto Management
After setting up your wallet, the Trezor Wallet becomes your control center for managing your assets. Through the Trezor Suite, users can:
- View and track their crypto portfolio
- Send and receive various coins and tokens
- Connect to dApps and Web3 services
- Swap tokens directly through integrated exchange partners
- Update device firmware to stay protected against new threats
Trezor Suite provides real-time market data and offers full transparency and control over your digital funds.
🔒 Stay Safe: Pro Tips for Trezor.io/Start Users
- Only visit the official URL: Always type “https://trezor.io/start” manually into your browser to avoid phishing sites.
- Never share your recovery seed: Trezor or any other service will never ask for it.
- Use a cryptosteel backup: Protect your recovery seed with fireproof, waterproof storage.
- Enable hidden wallets: Advanced users can add a passphrase for stealth mode access.
🎯 Conclusion
In an age where digital threats are everywhere, securing your crypto assets is non-negotiable. Trezor.io/Start provides an easy-to-follow, official path to setting up your Trezor Wallet — the gold standard in hardware wallet security. Whether you're investing a little or a lot, taking the time to set up your wallet correctly could save you from losing everything.
Made in Typedream